Enclosed spaces are a fundamental component to the ship’s structure and are also circuitously critical for the economics of running the shipping company.
A large part of the ship’s earnings in the form of cargo (dry as well as wet) is exhumed from large void spaces commonly known as ‘tanks’, within the configuration of the ship.
As a matter of fact, the steel tanks aid with the ship’s stability, especially when stability is associated with juggling between filling and discharge of fuel oil or water as ballast/domestic.
Considering the immense significance of these spaces, they have to be regularly maintained.
Planned inspections and regular cleaning/repairs would be best for ascertaining the top shape of the ship’s hull and its components.
However, it is proven that over time the ships’ steel deteriorates structurally, and if left unchecked, can worsen to serious framing and compositional defects with sometimes causing loss to ship, even lives.
Consequently, in order to avoid such premature loss to life or for that matter loss of revenue from forced off-hire periods, effective repairs are indispensable; this includes visibly examining the tanks methodically.
The intention of this study is to present a generic guide of how to go about inspecting the ships tanks namely, cargo holds/tanks (dry and wet), ballast tanks, void spaces, fuel oil tanks, freshwater storage tanks, etc.
Credits: karelstudio/depositphotos.com
Let’s first quickly run down through the general defects that affect the steel structures due to direct wear and tear:
1. Corrosion – Also considered as ‘material wastage’, it is the lead cause for structural deformations and fracturing. It is by far the most ‘common’ of all other defects directly related to steel and its components.
If left unattended, corrosion is a disaster waiting to happen; either by cargo or fuel oil contamination, structural losses, pollution and finally possible loss of the ship itself.
2. Deformation – It is a sub-component defect caused due to damage to steel platings or material failure. It could be a change in shape or physical disfigurement of steel that is caused either by implosion (caused due to vacuum build up in tanks) or explosion, excessive dynamic (wave bending / loading) as well as static stress (ship’s hogging and sagging conditions)and strains onto the steel structures, and likewise.
It should be noted that deformations observed on the ship’s hull are more likely to affect structures on the interior too.
3. Fractures – This is due to the propagation of cracks through the steel plating, which has been left unattended, obviously. Most of it occurs due to excessive stress concentrated on weakened steel plates throughout the tanks’ dimensions.
There have been many cases where inspectors have arrested ships, especially bulk carriers, where imminent cracks (mainly due to concentration of stress) through the cargo areas have been observed. Welding defects have also been observed to be the cause of fractures.
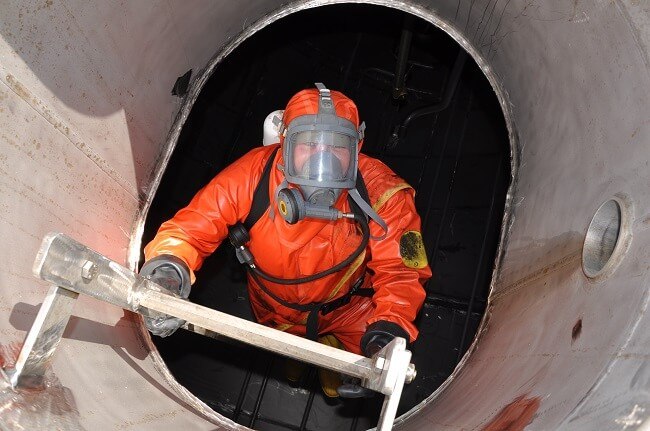
As we are aware that entering the tank or the enclosed spaces onboard encompasses certain mandatory procedures, which should be followed in particular. Prerequisites such as Permit to Work in Enclosed Spaces, PPE, high beam lighting, oxygen/gas detection meters, communications, etc. are mandatory while undertaking such critical operations.
Once all the essentials are in place, a competent officer should head the inspection process after chalking out the tasks that are required to be ticked off, say for completing a PMS. Needless to say, onboard checklists provide a complete synopsis as to what one has to confirm while inspecting the tanks.
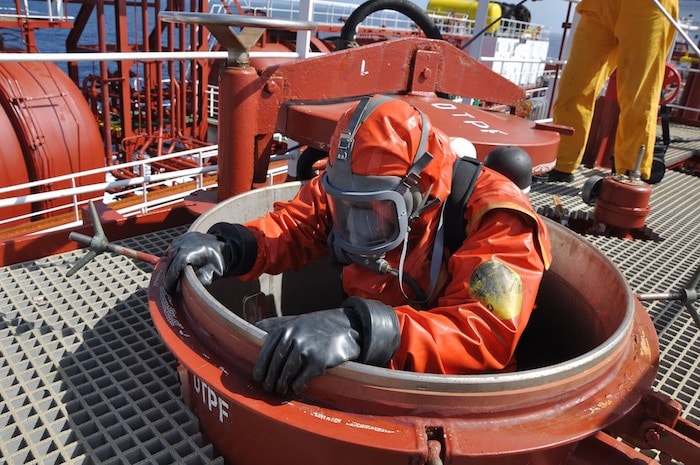
Photo by karelstudio / deposit photos
Here are a few pointers one should specifically identify while inspecting the steel tanks.
1. Assessing the overall condition – Immediately on entering the enclosed space one can figure out the tank’s well being by considering the state of the access ways and the ladders, paint coatings, and by closely observing areas susceptible to corrosion such as near the weld joints. Rungs, step ways and ladders are often the foremost members that are exposed to deterioration due to oxidation.
The competent officer should examine the material wastage throughout the set of access ways and related components. An overall study of the paint coating would permit the competent person to estimate how the tank has reacted to general corrosion.
For easy identification of loopholes, the paint applied on the surface is generally light in colour. Thereby, re-coated areas can be easily spotted, should be re-checked for coating failure or for scaling or pitting in the vicinity.
2. Condition of corrosion levels – General corrosion appears to be as non-protected oxidation that tends to crop up homogeneously on internal surfaces of the holds or tanks which have been left uncoated. The corroded scale frequently breaks off, revealing the bare metal, which is susceptible to corrosive attack.
In tanks and holds that have been coated, corrosion starts affecting the moment the coating starts breaking down. Determining thickness reduction in the steel plates is difficult unless excessive shrinking has occurred.
For example, corrosion on the inner surfaces of the liquid cargo tanks (example, Crude Oil Tankers) is mainly due to the mixture of corrosive gases, crude oil acids, as well as seawater (Crude oil washing).
This along with the fluctuations in temperatures within the tanks and structural flexing, over a period of time, shrinks the thickness of the steel plating and associated supports, ultimately leading to failure of the steel structure.
Careful examination should be carried out in areas such as – in the vicinity of sounding pipes and striker plates, openings for the air vents and tank gauging, internal piping including expansion joints, dressor coupling and related fittings / joints / clamps, near the operational valves within the tanks, bilges and tank top areas, underside of hatch coamings / tank openings, bulkheads in general, joints associated with girders, web frames, etc.
3. Condition of ‘sacrificial’ anodes fitted inside the tank – Normally such sacrificial anodes are made up of zinc among other elements and provide excellent preventive measures to fight corrosion within the tanks, especially the ballast tanks. Due to their sacrificial nature, the anodes, over a period of time get ‘wasted’.
Hence, in order to maintain their integrity, anodes have to be checked and inspected closely for excessive wear and tear. A record of material wastage should be maintained for future examining. One must also inspect whether the anodes are well secured to the brackets provided.
4. Checking for Damages / Cracks / Deformations – Adequate lighting in the tanks is necessary for the inspection work and for identifying deformations or surface dents.
Shadows are one of the best indicators to highlight any buckling or cracks within the tanks. However, this may not be the case for darker paint coatings (Coal Tar Epoxy, for example) where the tanks have to be lit up to the max in order to locate the defects.
Deformations may generally not be readily obvious when viewed over a larger area. To identify this, it is a good idea to highlight the area using a high beam torch by projecting it parallel to the surface.
Where it is difficult to identify defects in a straight line by the torch, the old school method of using a length of string or rope could be considered for determining the obscured deformations on the surfaces.
Buckling is another condition of large deformations which can be caused due to a diminutive increase in loads. Permanent buckling may arise due to overloading weak structures (read – corrosion or contact damage)
5. Pitting corrosion and blister formation – Pitting Corrosion is often known to be observed in the bottom plating of ballast tanks especially near the ‘bell-mouth’, near the ‘bell-mouth’ in a liquid cargo tank, or next to suction wells associated with the submerged pumps fitted within the tanks.
Pitting Corrosion begins mostly with the local breakdown of the coatings, exposing the bare metal, and thereby getting accentuated by oxidation and galvanic reactions in the area.
Blister formation is a common sight in areas where the surface preparation is inadequate prior to application of paint coats or for some reason the coating failed to adhere to the surface. The officer must be on a lookout for these unwary bumps on the tank surfaces that may act as an alibi to the mounting decay underneath.
6. Condition of the tank gauging systems – Gauging systems that include gas measuring gauges, pressure gauges, temperature gauges, remote level sensing meters, sounding pipes, as well as the striker plates, should be checked for operational abnormalities.
Rusting, too, is often found underneath the tank top near the conduits that encompass the gauges. If possible, it is always a good idea to try and clear out debris (example – mud, oil deposits) manually from the remote measuring sensors and attempt operating them. For example, during the inspection process physically testing the ‘remote’ gas measuring devices may be well worth the assessment.
The gauges fitted inside or outside the tank must be calibrated during a major inspection (dry dock) or at intervals defined by the maker.
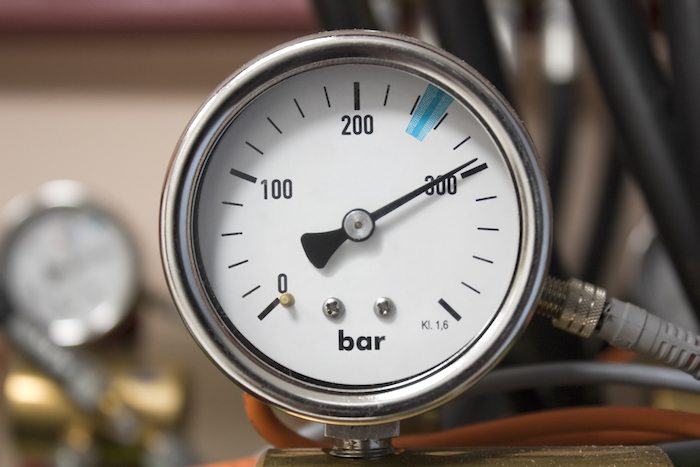
Image for representation purpose only. Photo by MikhailPopov
7. Condition of the Safety Devices – Safety devices fitted in the tanks is critical for providing the operators a remote indication of an unwanted threat such as water ingress in the bilges of cargo holds due to sweating or any other reason for that matter.
The importance of such devices onboard is high and should be regarded as a priority for visible examination. It is not very frequent that the bilge high level and low-level alarms of critical spaces such as in the ship’s chain locker, dry cargo holds, void spaces, etc. would be manually tested and scrutinised closely for operational deficiencies.
8. Condition of Mud or Sludge Build Up – Accumulation of mud and oily sludge in the tanks could be detrimental in terms of hiding away serious defects and also to promote the development of structural deterioration underneath the horizontal/parallel surfaces.
Therefore, it is highly recommended to remove the excess debris prior any tank inspection, this means washing the crude oil tanks enough in order to visibly locate the defects, or physically hosing down the mud accretion in ballast tanks.
This also aids in identifying any bottom shell pitting corrosion or deformations.
9. Condition of Cargo Equipment – Cargo equipment within the tanks includes heating coils, cargo pumps, crude oil washing machines, remote gauging systems, temperature/heat sensors, etc. Leak test using compressed air or steam could be carried out on heating coils whereby the pipe-work and steam traps within the tanks must be thoroughly inspected visually for faults and leaks.
The competent officer should also physically ensure the optimal operation of all the cargo equipment fitted internally. This could be done by remotely trying out the system from a control room and feedback confirmed from within the tank. Any irregularity in the equipment’s operation must be recorded and later reported.
Finally, a few other areas onboard susceptible to defects and damages that must be frequently examined –
– Ballast tanks that are bordering the hot Engine Room spaces
– Ballast and void tanks neighbouring the heated fuel oil and cargo tanks
– Tanks that are in the vicinity to areas where vibration levels are high
– Side shell spaces between the loaded and light draughts
– Tanks adjacent to external tug contact points
– Spaces in the forward part of the vessel, especially to be considered after heavy weather
Therefore, in order to detect and identify where a fault has occurred in the enclosed space most of the above-mentioned factors would be needed to take into consideration.
For evidence and record keeping, using an intrinsically safe camera or any camera with a certified explosion-proof housing for that matter is highly recommended.
Also on wrapping up the inspection, all the facts and findings must be entered in the ship’s official Tank Inspection Record.
If deemed necessary, then a copy of the record must be sent across to the vessel’s Base Manager / Tech. Superintendent.
A correspondence file must be maintained as a reference to all subsequent modifications or repairs carried out within the tanks.
 About
About
Comments
Post a Comment